Why Build a Digital Watch Yourself?
Building your own digital watch is a deeply rewarding experience that combines electronics, programming, and design skills. Whether you’re a student, hobbyist, or engineer, understanding how these compact devices work on a fundamental level boosts your creativity, confidence, and technical ability.
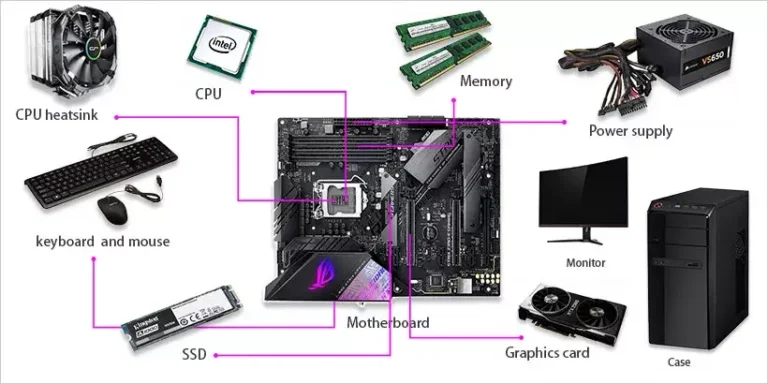
Essential Components You Need to Build a Digital Watch
Before we dive into the build process, here’s a list of basic electronic components required for assembling your own digital watch:
- Microcontroller (e.g., ATmega328, ESP32, or STM32)
- Real-Time Clock (RTC) module (e.g., DS3231 or DS1307)
- OLED or LCD display (e.g., 0.96″ I2C OLED)
- Battery (e.g., 3.7V Li-ion or coin cell)
- Voltage regulator (optional, depending on battery voltage)
- Push buttons (for mode/menu control)
- PCB board or prototyping breadboard
- Resistors and capacitors as needed
- Enclosure (3D printed or prebuilt casing)
Step-by-Step Guide on How to Build a Digital Watch
1. Designing the Circuit
To begin, we design the circuit using a schematic design software like Fritzing, KiCad, or Eagle. At this stage:
- Connect the microcontroller to the RTC module using I2C communication (SDA/SCL pins).
- Attach the display module also via I2C or SPI, depending on compatibility.
- Add push buttons to GPIO pins to control the interface (time set, date switch, etc.).
- Ensure proper power supply to all components, typically using a regulated 3.3V or 5V source.
2. Writing the Firmware Code
Programming the microcontroller is the heart of your digital watch.
- Use Arduino IDE, PlatformIO, or similar environments.
- Include libraries like
Wire.h,RTClib.h, andAdafruit_GFXdepending on your modules. - Set up the time fetch loop, display updates, and button debounce functions.
- Incorporate logic to adjust hours, minutes, and date using the button inputs.
#include <Wire.h>#include <RTClib.h>#include <Adafruit_SSD1306.h>RTC_DS3231 rtc;Adafruit_SSD1306 display(128, 64, &Wire, -1);void setup() { Wire.begin(); rtc.begin(); display.begin(SSD1306_SWITCHCAPVCC, 0x3C);}void loop() { DateTime now = rtc.now(); display.clearDisplay(); display.setTextSize(2); display.setTextColor(WHITE); display.setCursor(0,0); display.print(now.hour()); display.print(":"); display.print(now.minute()); display.display(); delay(1000);}Important: Test your code thoroughly before soldering the components.
3. Assembling the Hardware
Once your code runs smoothly on the breadboard:
- Solder the components neatly onto a custom PCB or a perfboard.
- Ensure wires are short and secured to reduce EMI.
- Use a hot glue gun or enclosure mounts to fasten your modules.
- Double-check polarity on the battery connection and ensure reverse current protection if necessary.
4. Designing and Building the Watch Case
The enclosure not only protects your electronics but adds aesthetic value.
- You can design the case using CAD software like Fusion 360 or TinkerCAD.
- Choose materials like PLA, ABS, or even resin for 3D printing.
- Ensure the case has proper cutouts for the screen and buttons.
- Consider water resistance by adding gaskets and rubber seals.
5. Power Management and Battery Charging
Power management is essential for longevity.
- If you’re using rechargeable Li-ion batteries, include a TP4056 charging module.
- Monitor voltage levels via ADC on your microcontroller to prevent deep discharge.
- You may also implement a low-power sleep mode to conserve battery when idle.
6. Final Testing and Calibration
Before final assembly:
- Run a full 24-hour time accuracy test.
- Check all modes (time, date, stopwatch, alarm if any).
- Confirm button responsiveness and display clarity.
- If using a touch interface, calibrate it properly in firmware.
Advanced Features You Can Add
Once you’ve built the basic version, expand with:

- Bluetooth or Wi-Fi sync (using ESP32)
- Step counter (pedometer) using an accelerometer
- Weather updates from an online API
- Alarm or buzzer integration
- Backlight or auto-brightness adjustment
These features will push your project to a semi-commercial prototype level.
FAQs about Building a Digital Watch
What is the best microcontroller for building a digital watch?
The ATmega328 (used in Arduino UNO) is a great start for beginners. For more advanced features like Bluetooth or Wi-Fi, the ESP32 is highly recommended.
How long does it take to build a digital watch?
Depending on your experience, it could take 5 to 15 hours, including designing, programming, assembling, and testing.
Can I make a waterproof digital watch?
Yes, by designing a sealed enclosure, using rubber gaskets, and applying conformal coating on the PCB, you can make it water-resistant.
Do I need to know how to code?
Basic programming knowledge is required. You can use Arduino libraries and online tutorials to ease the learning curve.
Is it cheaper to build your own watch?
Not always. It might cost more than a budget watch but offers educational and creative value unmatched by mass-produced options.
Conclusion: Start Building Your Custom Digital Watch Today
By following this comprehensive guide on how to build a digital watch, you’re not just creating a functional timepiece—you’re gaining valuable skills in electronics, embedded systems, and product design. Whether you’re prototyping for fun or exploring product development, this is your perfect start.