Why Build a Wooden MTB Jump?
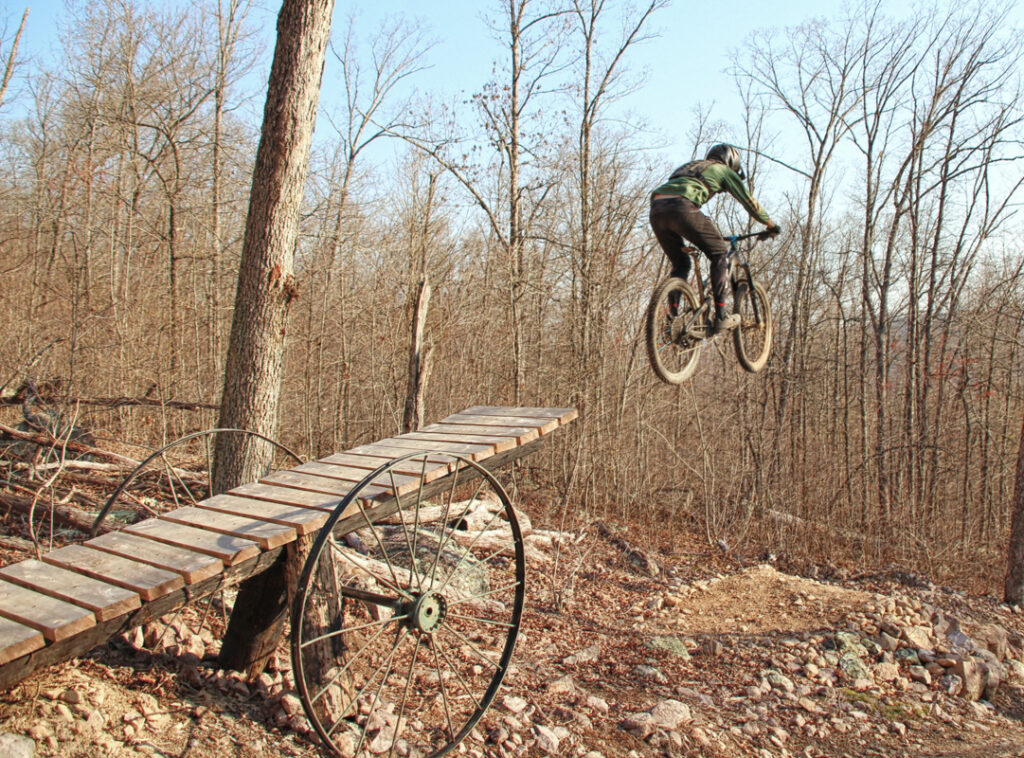
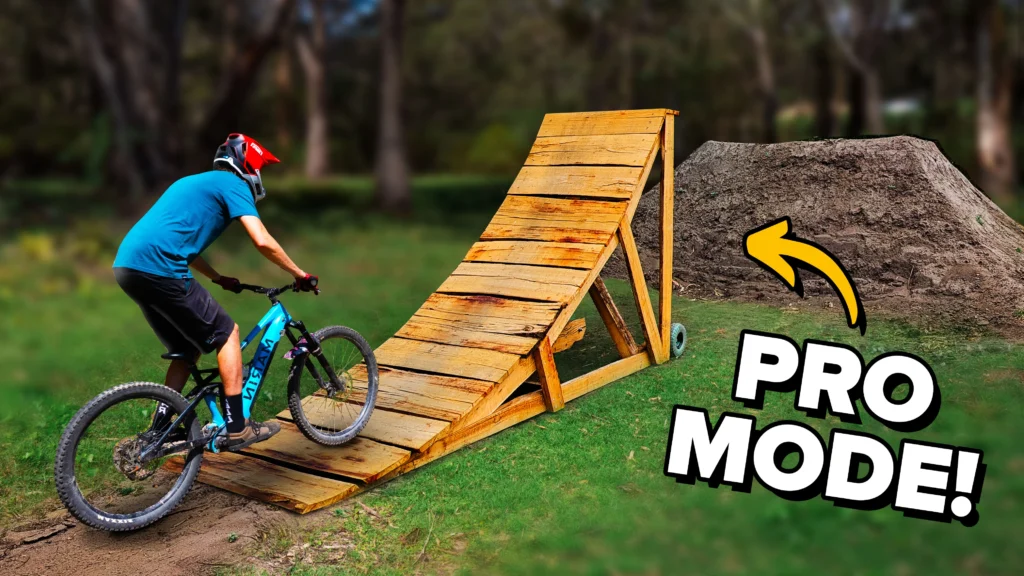
If you ride mountain bikes and crave air time, building your own wooden jump is a game-changer. Unlike dirt ramps, wood jumps are portable, weather-resistant, and offer a consistent surface for takeoffs. This makes them perfect for backyard practice, bike parks, and temporary trails.
Tools and Materials You’ll Need
Before you get started, gather the following:
Materials:
- Pressure-treated plywood (3/4″ thick for durability)
- 2×4 lumber (for the frame)
- Wood screws or decking screws (2.5″ to 3″)
- Angle brackets or metal braces (for added strength)
- Exterior wood glue (optional)
Tools:
- Power drill
- Saw (circular or jigsaw)
- Measuring tape
- Screwdriver or impact driver
- Safety gear (gloves, safety glasses)

Design Considerations Before You Build
Before cutting wood, think through these factors:
Ramp Height and Radius
- Beginner ramps: 1.5–2 feet high with a mellow curve
- Intermediate jumps: 2.5–3.5 feet with a steeper lip
- Use a 4–6 foot radius for a natural, progressive curve
Jump Type
- Kicker Jump: Short and steep—perfect for practicing tricks
- Tabletop: Safer for beginners (less risk of casing)
- Gap jump: For more experienced riders (requires proper landing)
Step-by-Step: How to Build a Mountain Bike Jump Out of Wood
Step 1: Draw the Side Profile
Using a pencil and measuring tape, sketch the curve of your jump on plywood. You can use a string and screw method to trace a consistent radius.
Transition Tip: Once one side is drawn, use it as a template to trace the second side for perfect symmetry.
Step 2: Cut the Side Panels
Use a jigsaw or circular saw to carefully cut along your drawn curve. These two side panels form the shape of your ramp.

Step 3: Build the Frame with 2x4s
Cut horizontal braces from 2x4s and attach them between the two curved plywood sides. Space them every 6 to 10 inches for strong support.
Pro Tip: Use wood screws and angle brackets at every joint to prevent wobbles or flex during jumps.
Step 4: Add the Riding Surface
Screw 3/4” plywood onto the frame. Make sure:
- The surface is smooth and splinter-free
- Screws are flush or slightly countersunk
- Edges are sanded for safety
If you want added grip, paint it with outdoor grip paint or add traction strips.
Step 5: Stabilize the Base
Attach a base plate or cross-brace at the back of the jump. This will prevent the jump from sliding when you hit it.
Optional Step: Weatherproofing
To make your jump last longer:
- Apply wood sealant or paint
- Store it in a covered area or tarp it during rain
- Avoid building directly on soft soil—place on concrete or wood blocks
Safety First: Ride Responsibly
- Always test the ramp slowly before going full speed
- Use full protective gear (helmet, gloves, pads)
- Inspect screws and wood for wear after heavy use
- Place the ramp on flat, non-slippery ground
Benefits of Building Your Own MTB Jump
- Tailored to your skill level
- Portable and easy to move
- Cheaper than buying a premade ramp
- Teaches carpentry and trail design
- Great for weekend MTB sessions with friends
Conclusion: Build It, Send It, Repeat
Now that you know exactly how to build a mountain bike jump out of wood, it’s time to take action. Building your own jump isn’t just practical—it’s part of the fun. So grab your tools, sketch your design, and send your first jump with pride. Just remember: start small and ride safe!
FAQs About Building Wooden MTB Jumps
1. What type of wood should I use for a bike jump?
Use pressure-treated plywood and 2x4s for durability and outdoor resistance.
2. How tall should a wooden MTB jump be?
For beginners, start with 1.5 to 2 feet. More advanced riders can go up to 3.5 feet or more.
3. Can I make the jump portable?
Yes! Add removable legs or use bolts instead of screws for easy disassembly.
4. Do I need a curved surface, or can I go straight?
Curved surfaces offer smoother takeoffs. Straight ramps are okay for smaller jumps but can feel harsh.
5. Is it okay to leave the ramp outside?
Yes, but apply weatherproof sealant and place it on blocks or a dry surface to prolong its life.


