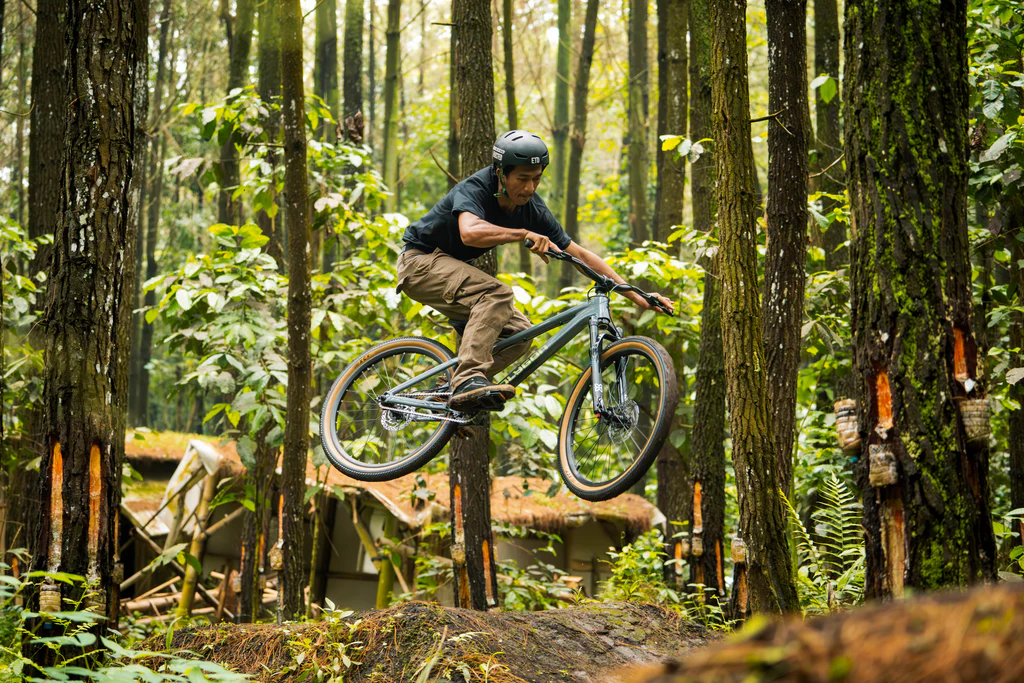
What is a Mountain Bike Berm?
A mountain bike berm is a banked corner designed to help riders maintain momentum and control while cornering. Whether you’re building a backyard trail or upgrading a bike park, knowing how to build a mountain bike berm is crucial for creating a fun and flowy riding experience.
Not only do berms help reduce braking, but they also improve rider safety, especially on technical or fast downhill sections.
Materials You’ll Need
Before you start digging, gather the right materials and tools:
Essential Materials:
- Packed dirt or clay soil (well-draining)
- Rocks or gravel (for drainage)
- Wooden stakes and string (for layout)
- Shovels and rakes
- Wheelbarrow
- Water source (to help with compacting)
- Plate compactor or tamper
Optional But Helpful:

- Landscape fabric
- Trail-building machine (for large-scale berms)
- Rubber matting (for erosion control)
Step-by-Step: How to Build a Mountain Bike Berm
Step 1: Choose the Right Location
Pick a natural turn or curve in your trail where riders typically slow down. Make sure the area allows for proper drainage and visibility.
Tip: If water pools in the spot, choose a higher line or improve drainage before berm building.
Step 2: Mark and Shape the Berm
Use stakes and string to outline the inside and outside edge of your berm. A good starting angle is 45 degrees of turn with a 3:1 slope ratio from inside to outside.
Step 3: Excavate the Area
Remove grass, roots, and soft soil. Dig down to a firm base and use that as your foundation. Meanwhile, begin forming the berm’s basic shape.
Transition Tip: As you excavate, shape the berm from the bottom up rather than dumping dirt from the top. This ensures better compaction.
Step 4: Build Up the Berm Wall
Use compactable dirt and clay to build the banked wall. Layer it gradually, wetting and tamping each level for maximum compaction.
Pro Tip: Add gravel beneath or behind the berm for better drainage and erosion resistance.
Step 5: Compact the Berm
Use a plate compactor or hand tamper to press each layer firmly. A properly compacted berm won’t collapse during riding—even after heavy rain.
Step 6: Final Shape and Flow Tuning
Smooth out the riding line using a rake. Keep the top edge rounded and the inner edge slightly higher to guide the bike naturally.
Don’t forget: Test the berm by riding it. You may need to make adjustments to the angle, height, or radius to ensure it flows smoothly.
Drainage and Erosion Control
Water is the enemy of any trail. To protect your berm:
- Build outslopes to drain water away
- Add gravel at the base
- Use landscape fabric to reduce weed growth and soil washout
- Avoid building in low-lying wet areas
Benefits of a Well-Built Berm
- Increases speed through corners
- Reduces trail erosion
- Enhances rider safety
- Improves trail flow and enjoyment
- Encourages progressive riding skills
Build for Flow, Ride with Confidence
Whether you’re shaping a berm for a private trail or contributing to a public bike park, following these steps ensures your berm is strong, durable, and rideable. With the right technique and patience, your berm will not only elevate the trail—but also the experience for every rider.

FAQs About Building Mountain Bike Berms
1. How tall should a mountain bike berm be?
A berm’s height depends on speed and turn radius. For most trails, 2–3 feet is ideal for moderate flow; advanced trails may go up to 4 feet.
2. What type of dirt is best for building berms?
Clay-based soil is ideal due to its compaction ability. Avoid sandy or loose soil unless mixed with clay or packed tightly.
3. Do I need a machine to build a berm?
Not necessarily. Small to medium berms can be built with hand tools, though machines help with larger features or bike parks.
4. How long does it take to build a berm?
It depends on size, tools, and team size. A small berm can be completed in a day; larger ones may take a weekend or more.
5. Can berms be used in both uphill and downhill trails?
Yes, though they’re more common and effective on downhill sections for maintaining speed and improving control.